Running your first query
This tutorial is aimed at beginners that already know how to publish events, if you're not sure if that is you, take a look at the previous tutorial.
Before we start, make sure Actyx is running! If you're unsure how to do so, you can review how to start Actyx in our how-to guide.
To query Actyx you can either use the CLI or the Node Manager — don't worry, we will cover both in this tutorial.
Querying Actyx using the CLI
If you're familiar with CLI applications, it won't be a surprise that the interface to query events, is similar to the interface to publish them. Let's take a look into the help text!
USAGE:
    ax events query [FLAGS] [OPTIONS] <NODE> <query>

FLAGS:
    -h, --help       Prints help information
    -j, --json       Format output as JSON
    -V, --version    Prints version information
    -v

OPTIONS:
    -i, --identity <FILE>
            File from which the identity (private key) for
            authentication is read

ARGS:
    <NODE>     the IP address or <host>:<admin port> of the node
               to perform the operation on
    <query>    event API query (read from file if the argument
               starts with @)
As you can see, we still need the node, but instead of a payload, we're sending a query now.
The query is required to be valid AQL code, which we will cover in depth in a later tutorial. For this case, we will provide the required AQL query and explain what it does!
Running the query
Now that you're up to speed, the command we will be running is the following:
- Windows
- Linux
- macOS
.\ax events query localhost "FROM allEvents"
./ax events query localhost "FROM allEvents"
./ax events query localhost "FROM allEvents"
As a result, your output should be similar to:
0/z4tg-0@2023-08-08T15:57:34.760969+01:00: {"streamName": "default", "streamNr": 0}
1/z4tg-0@2023-08-08T15:57:34.763995+01:00: {"streamName": "discovery", "streamNr": 1}
2/z4tg-0@2023-08-08T15:57:34.766578+01:00: {"streamName": "metrics", "streamNr": 2}
3/z4tg-0@2023-08-08T15:57:34.769054+01:00: {"streamName": "files", "streamNr": 3}
4/z4tg-0@2023-08-08T15:57:34.772122+01:00: {"NewListenAddr": ["12D3KooWSokZosGoYhKa5GxVjuDFoY2fPh7SLF6TcTS3bwGZhRzs", "/ip4/192.168.0.104/tcp/4001"]}
5/z4tg-0@2023-08-08T15:57:34.774454+01:00: {"PinAdded": {"app_id": "com.actyx", "query": "FEATURES(zøg aggregate timeRange) FROM (((isLocal & appId(com.actyx)) & \'files:created\') & TIME >= 2023-08-08T02:57:34Z) SELECT _.cid END", "duration": {"secs": 604800, "nanos": 0}}}
6/z4tg-0@2023-08-08T15:57:43.737290+01:00: "hello"
You may have more events in your output, don't worry, that is completely normal!
If you notice on the last line, it's our payload!
Querying Actyx using the Node Manager
To query a node, you need to add it first, head over to our guide on how to add a node to the Node Manager to learn more.
Head to the "Query" page, where you'll find the text box for the query, pre-filled for you.
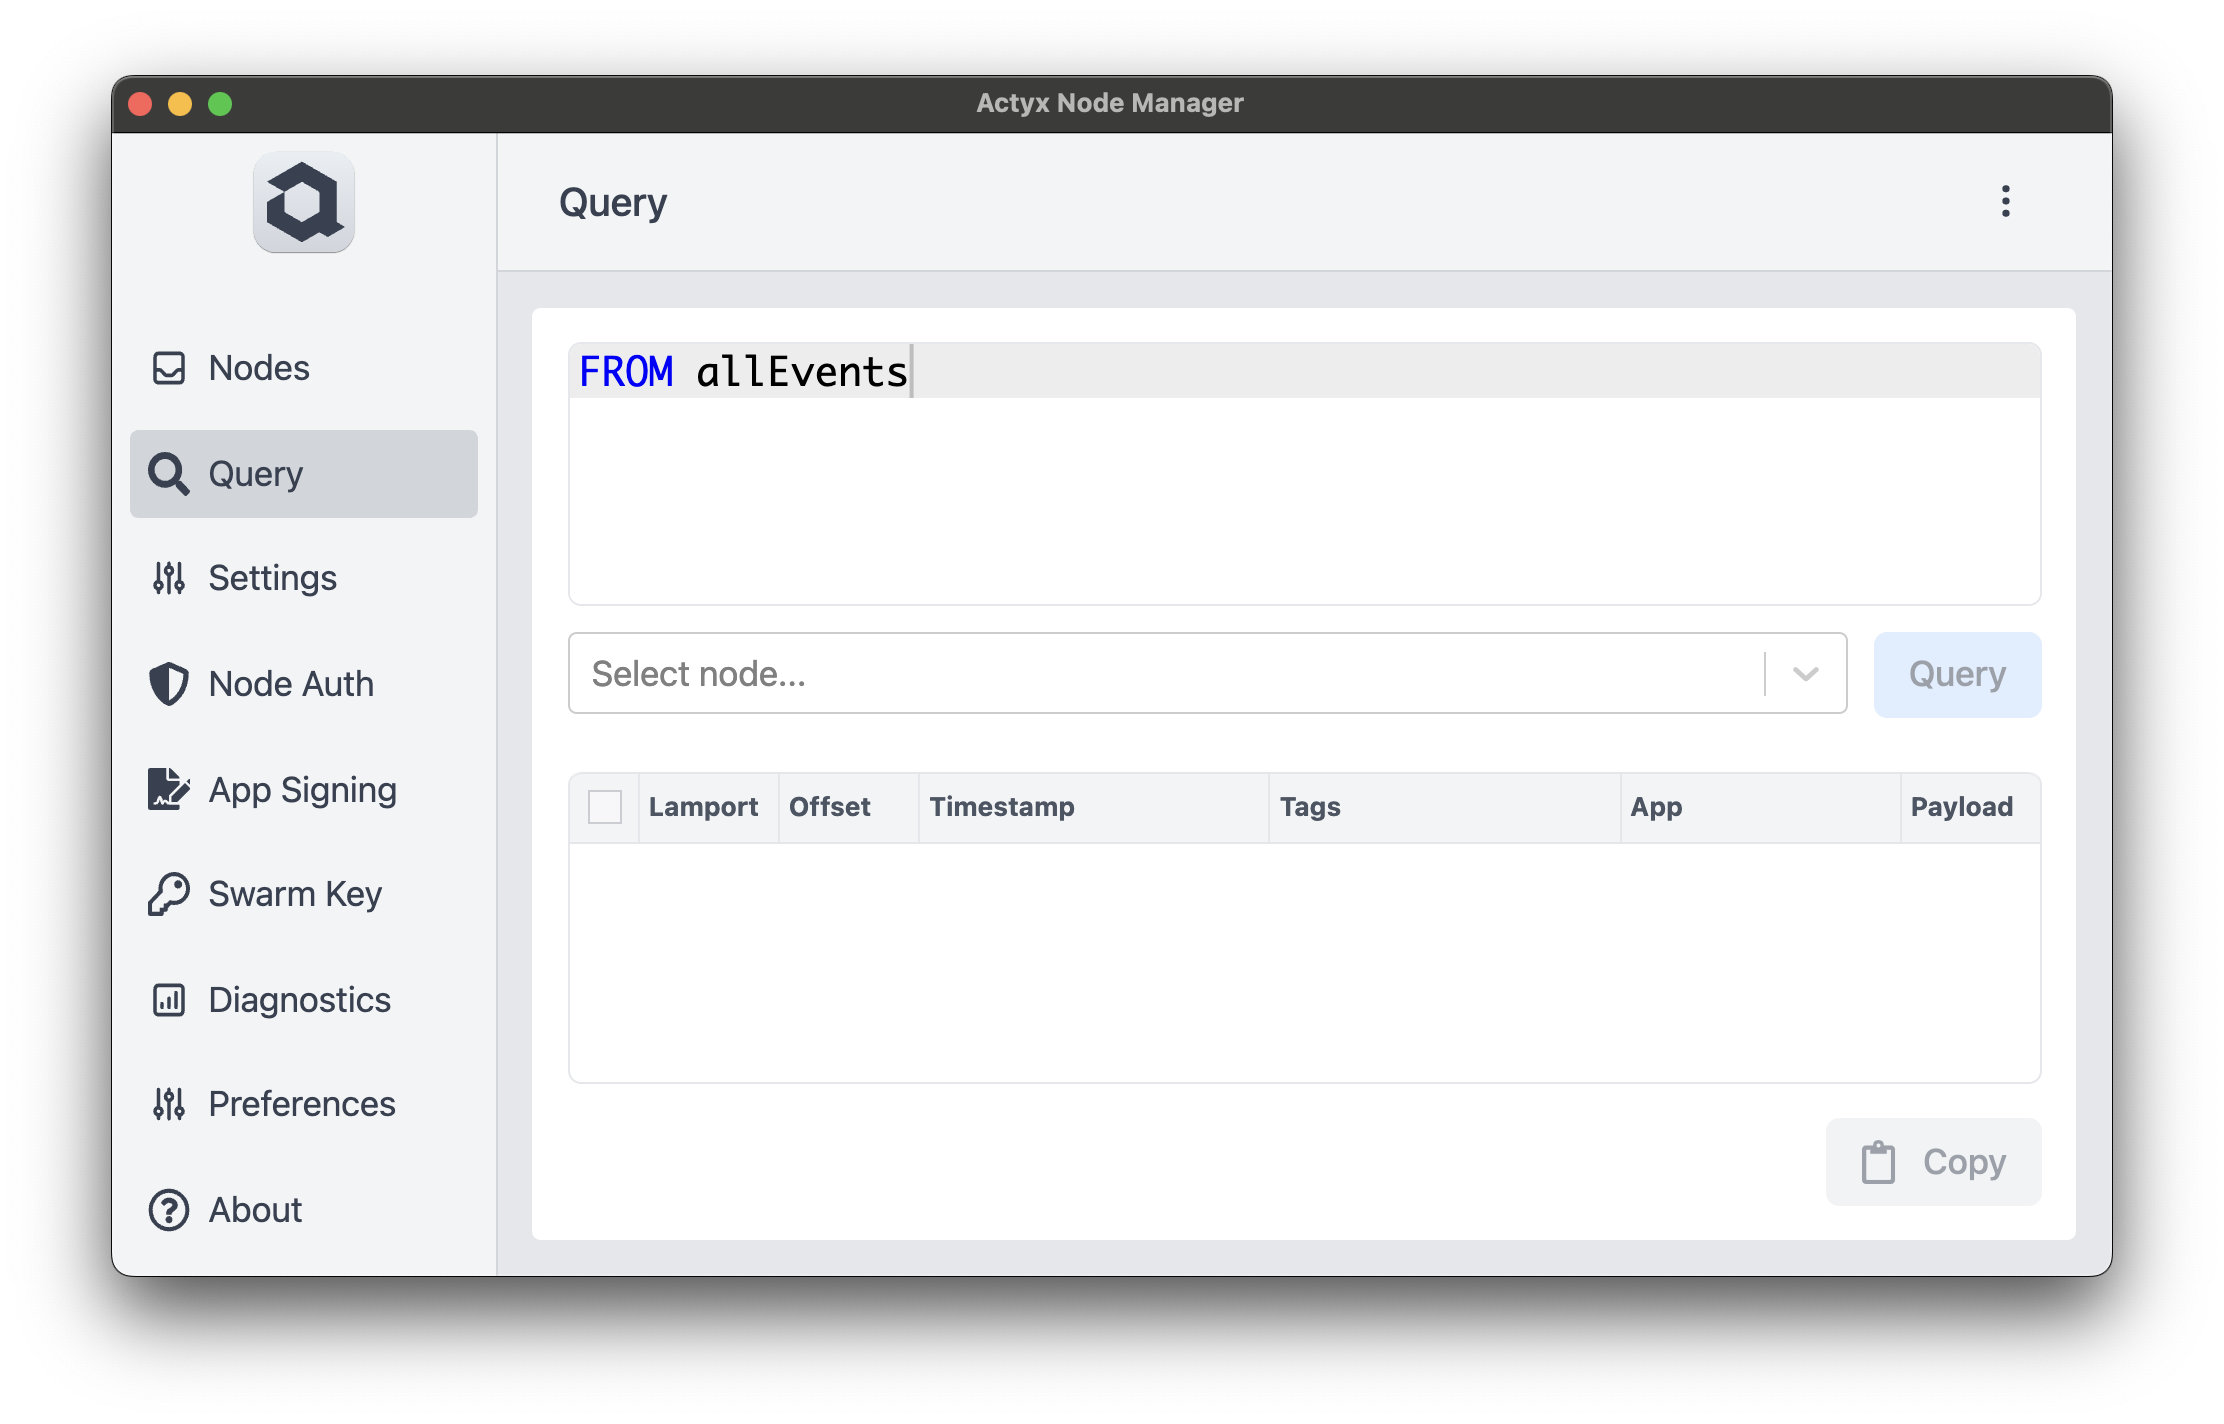
We need to select the node we're querying, in this case, we'll pick the only one available.

Finally, we can press "Query" and the results will appear at the bottom, where you can see the event we've sent (once more, the total amount of events you see may vary)!

What does the query do?
As a refresher, here's the query:
FROM allEvents
This query returns all events (yes, it's that simple). AQL is short for Actyx Query Language, as you might have guessed, it allows us to query Actyx for stored events.
The FROM keyword allows you to select a subset of all events, this is done using tags; however,
sometimes you just want to see all events Actyx has and for that we use the allEvents keyword.
To learn more about tags, head on to our conceptual guide on tags and queries!