Publishing your first event
This tutorial is aimed at absolute beginners, picking up Actyx for their first time.
Before we start, you should set up Actyx on your computer. To do so, you should follow our how-to guide to install and start Actyx as well as the guide to install the CLI and Node Manager.
After you start Actyx, we can send your first event using the Actyx CLI (ax).
ax is your CLI companion to Actyx, allowing you to publish and query events,
inspect nodes, change settings and others.
To learn more about ax you can run ax --help or head over to the Actyx CLI reference.
Publishing an event using the CLI
Using ax you can publish an event through the events publish interface,
if you look into its help text you will see the various options available:
USAGE:
    ax events publish [FLAGS] [OPTIONS] <NODE> <payload>

FLAGS:
    -h, --help       Prints help information
    -j, --json       Format output as JSON
    -V, --version    Prints version information
    -v

OPTIONS:
    -i, --identity <FILE>    File from which the identity (private key) for authentication is read
    -t, --tag <tag>...       tag (can be given multiple times)

ARGS:
    <NODE>       the IP address or <host>:<admin port> of the node to perform the operation on
    <payload>    event payload (JSON)
Given that we're just publishing to the local node, our NODE will be localhost
(ax assumes the default port for your convenience) and the
payload can be anything you want (as long at it is valid JSON).
Putting it all together, you should now be able to run the following command:
- Windows
- Linux
- macOS
.\ax events publish localhost "\"hello!\""
./ax events publish localhost "\"hello!\""
./ax events publish localhost "\"hello!\""
Congratulations, you have published your first event 🎉
But this isn't very exciting, how can we see it? That leads to the next tutorial.
Publishing an event using the Node Manager
The Node Manager is the GUI interface for Actyx, it's like the CLI's fancy cousin.
To publish an event to a node, you need to add it first, head over to our guide on how to add a node to the Node Manager to learn more.
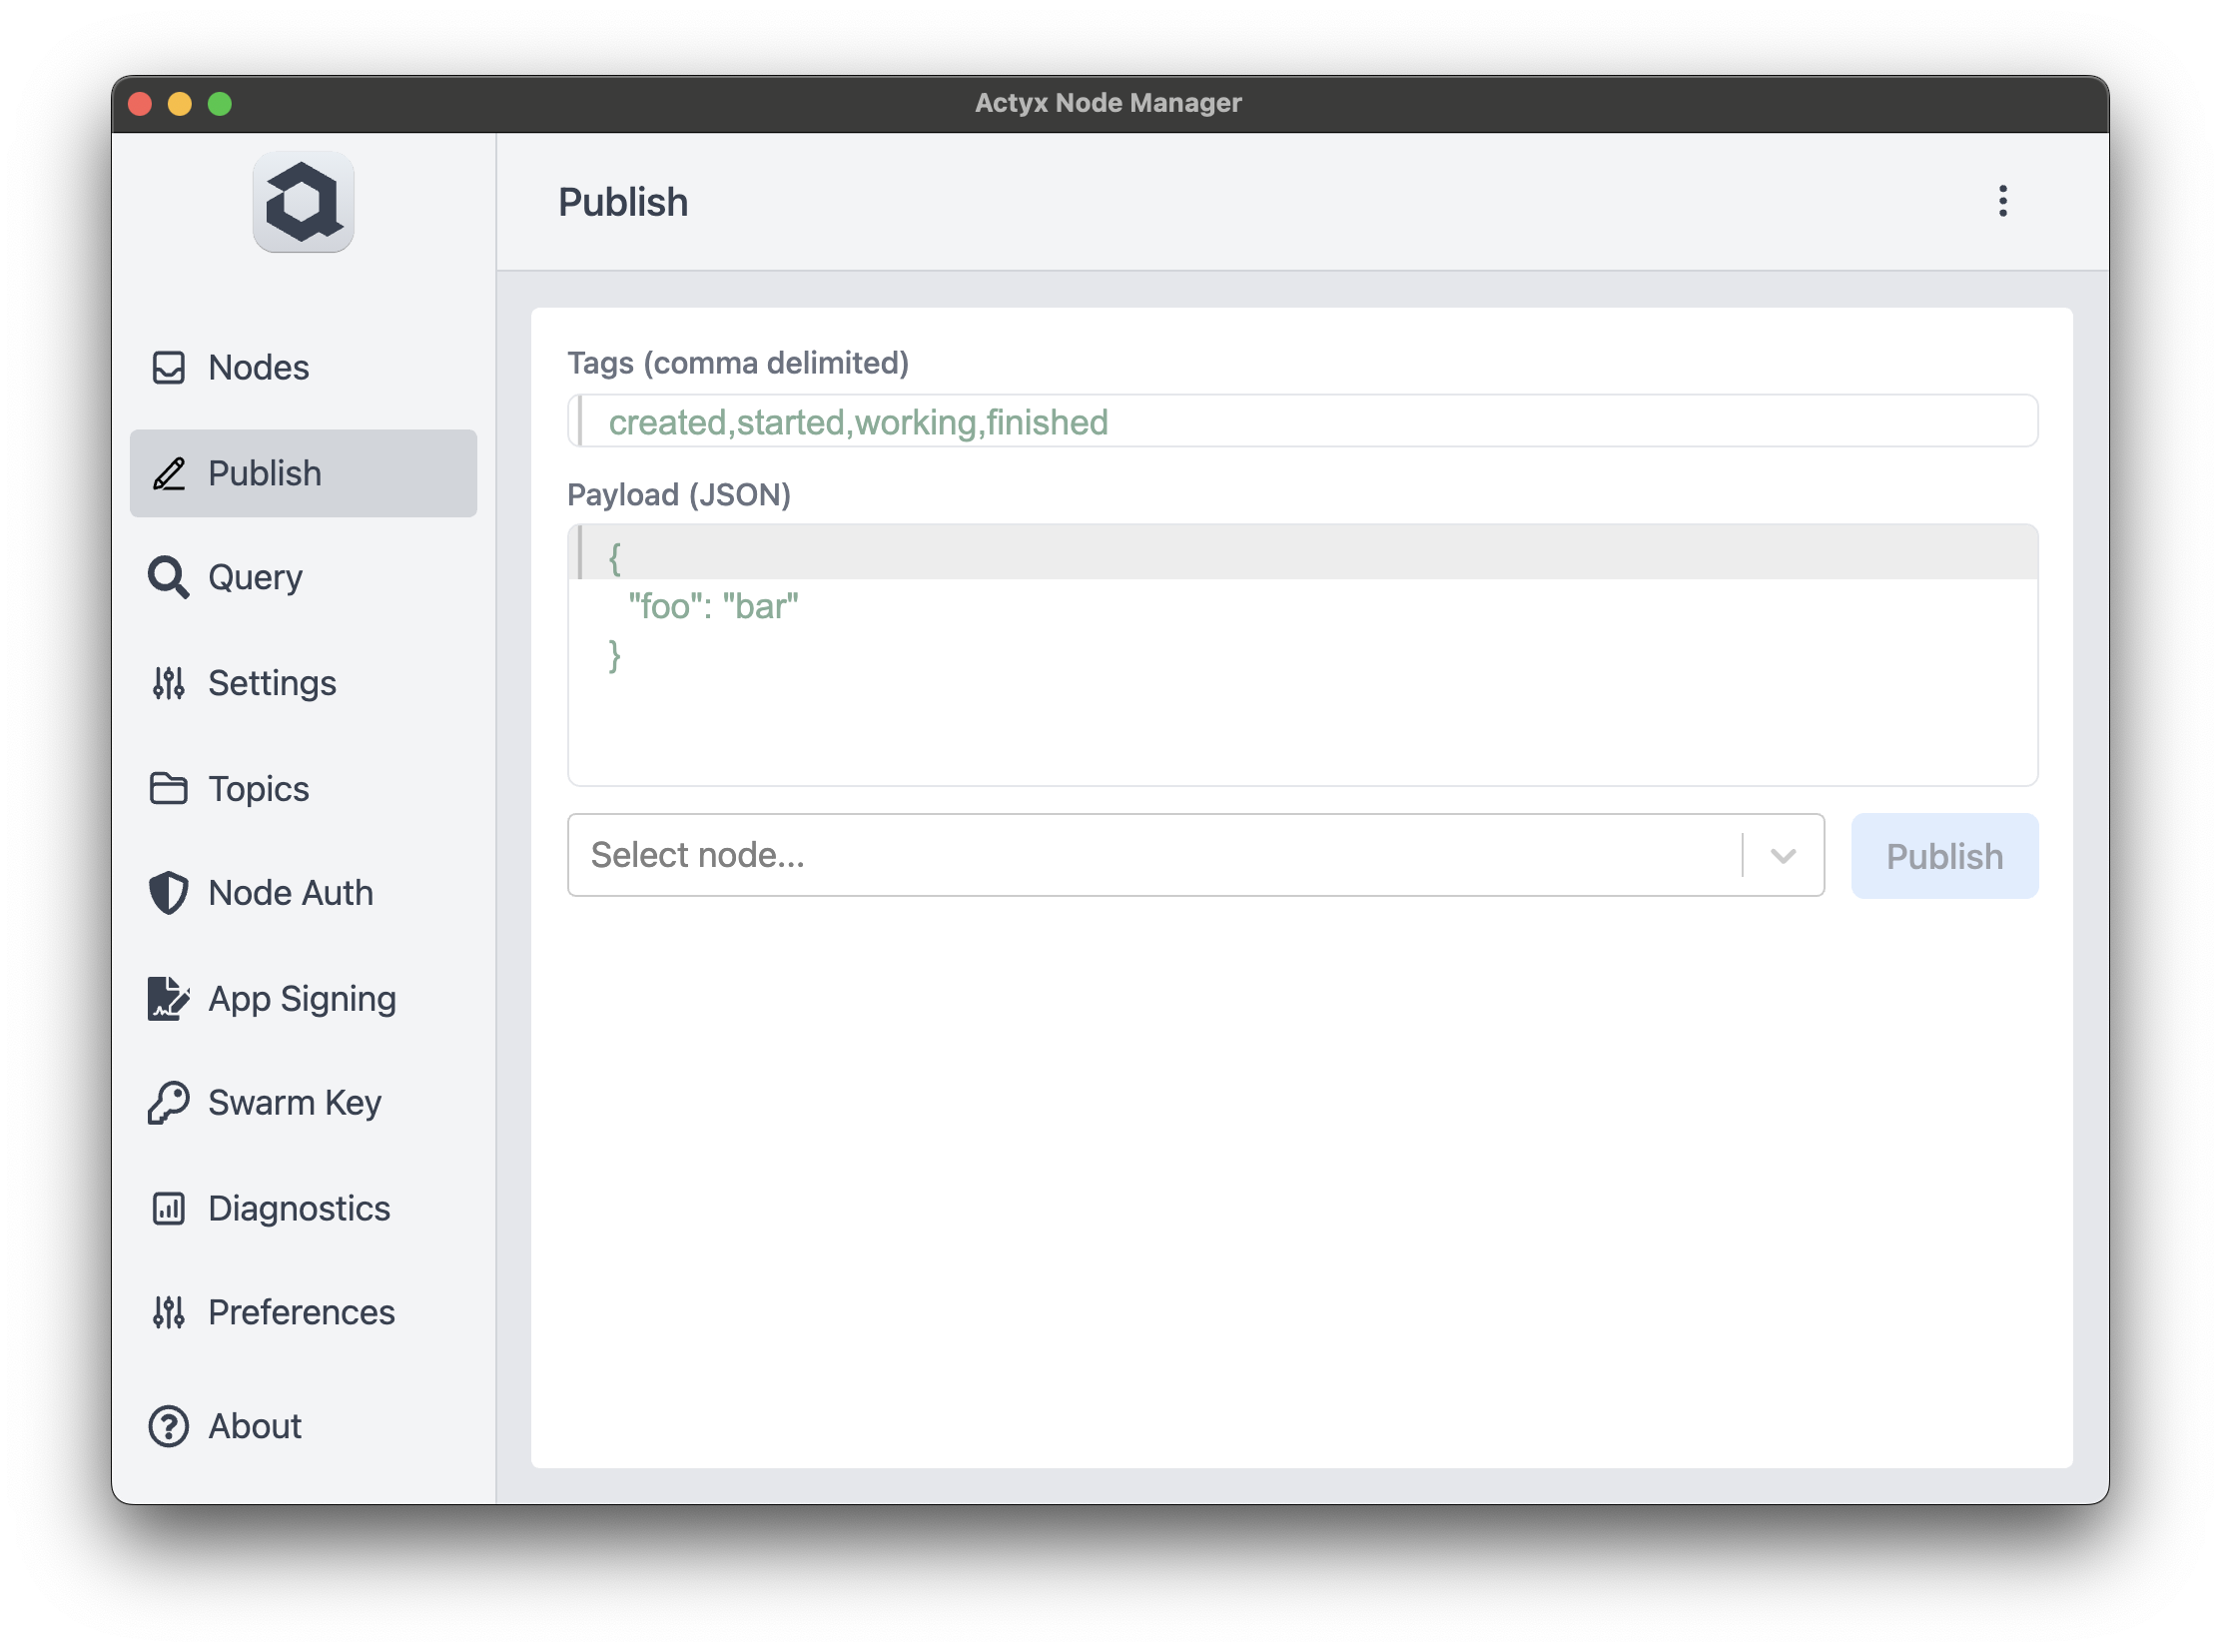
Head on to the "Publish" page, where you'll find some input boxes.
- The top box is where event tags go, these allow you to retrieve your events later through queries (if you've ever used a social media website, tags are to events as hashtags are to posts). To learn more about tags, head on to our conceptual guide on tags and queries!
- The second box is where your event payload goes, it needs to be valid JSON, otherwise you will not be able to publish it (keeping with the social media comparison, payloads are you post's contents).
- The dropdown menu is your node selection, where you pick the node you're publishing to.
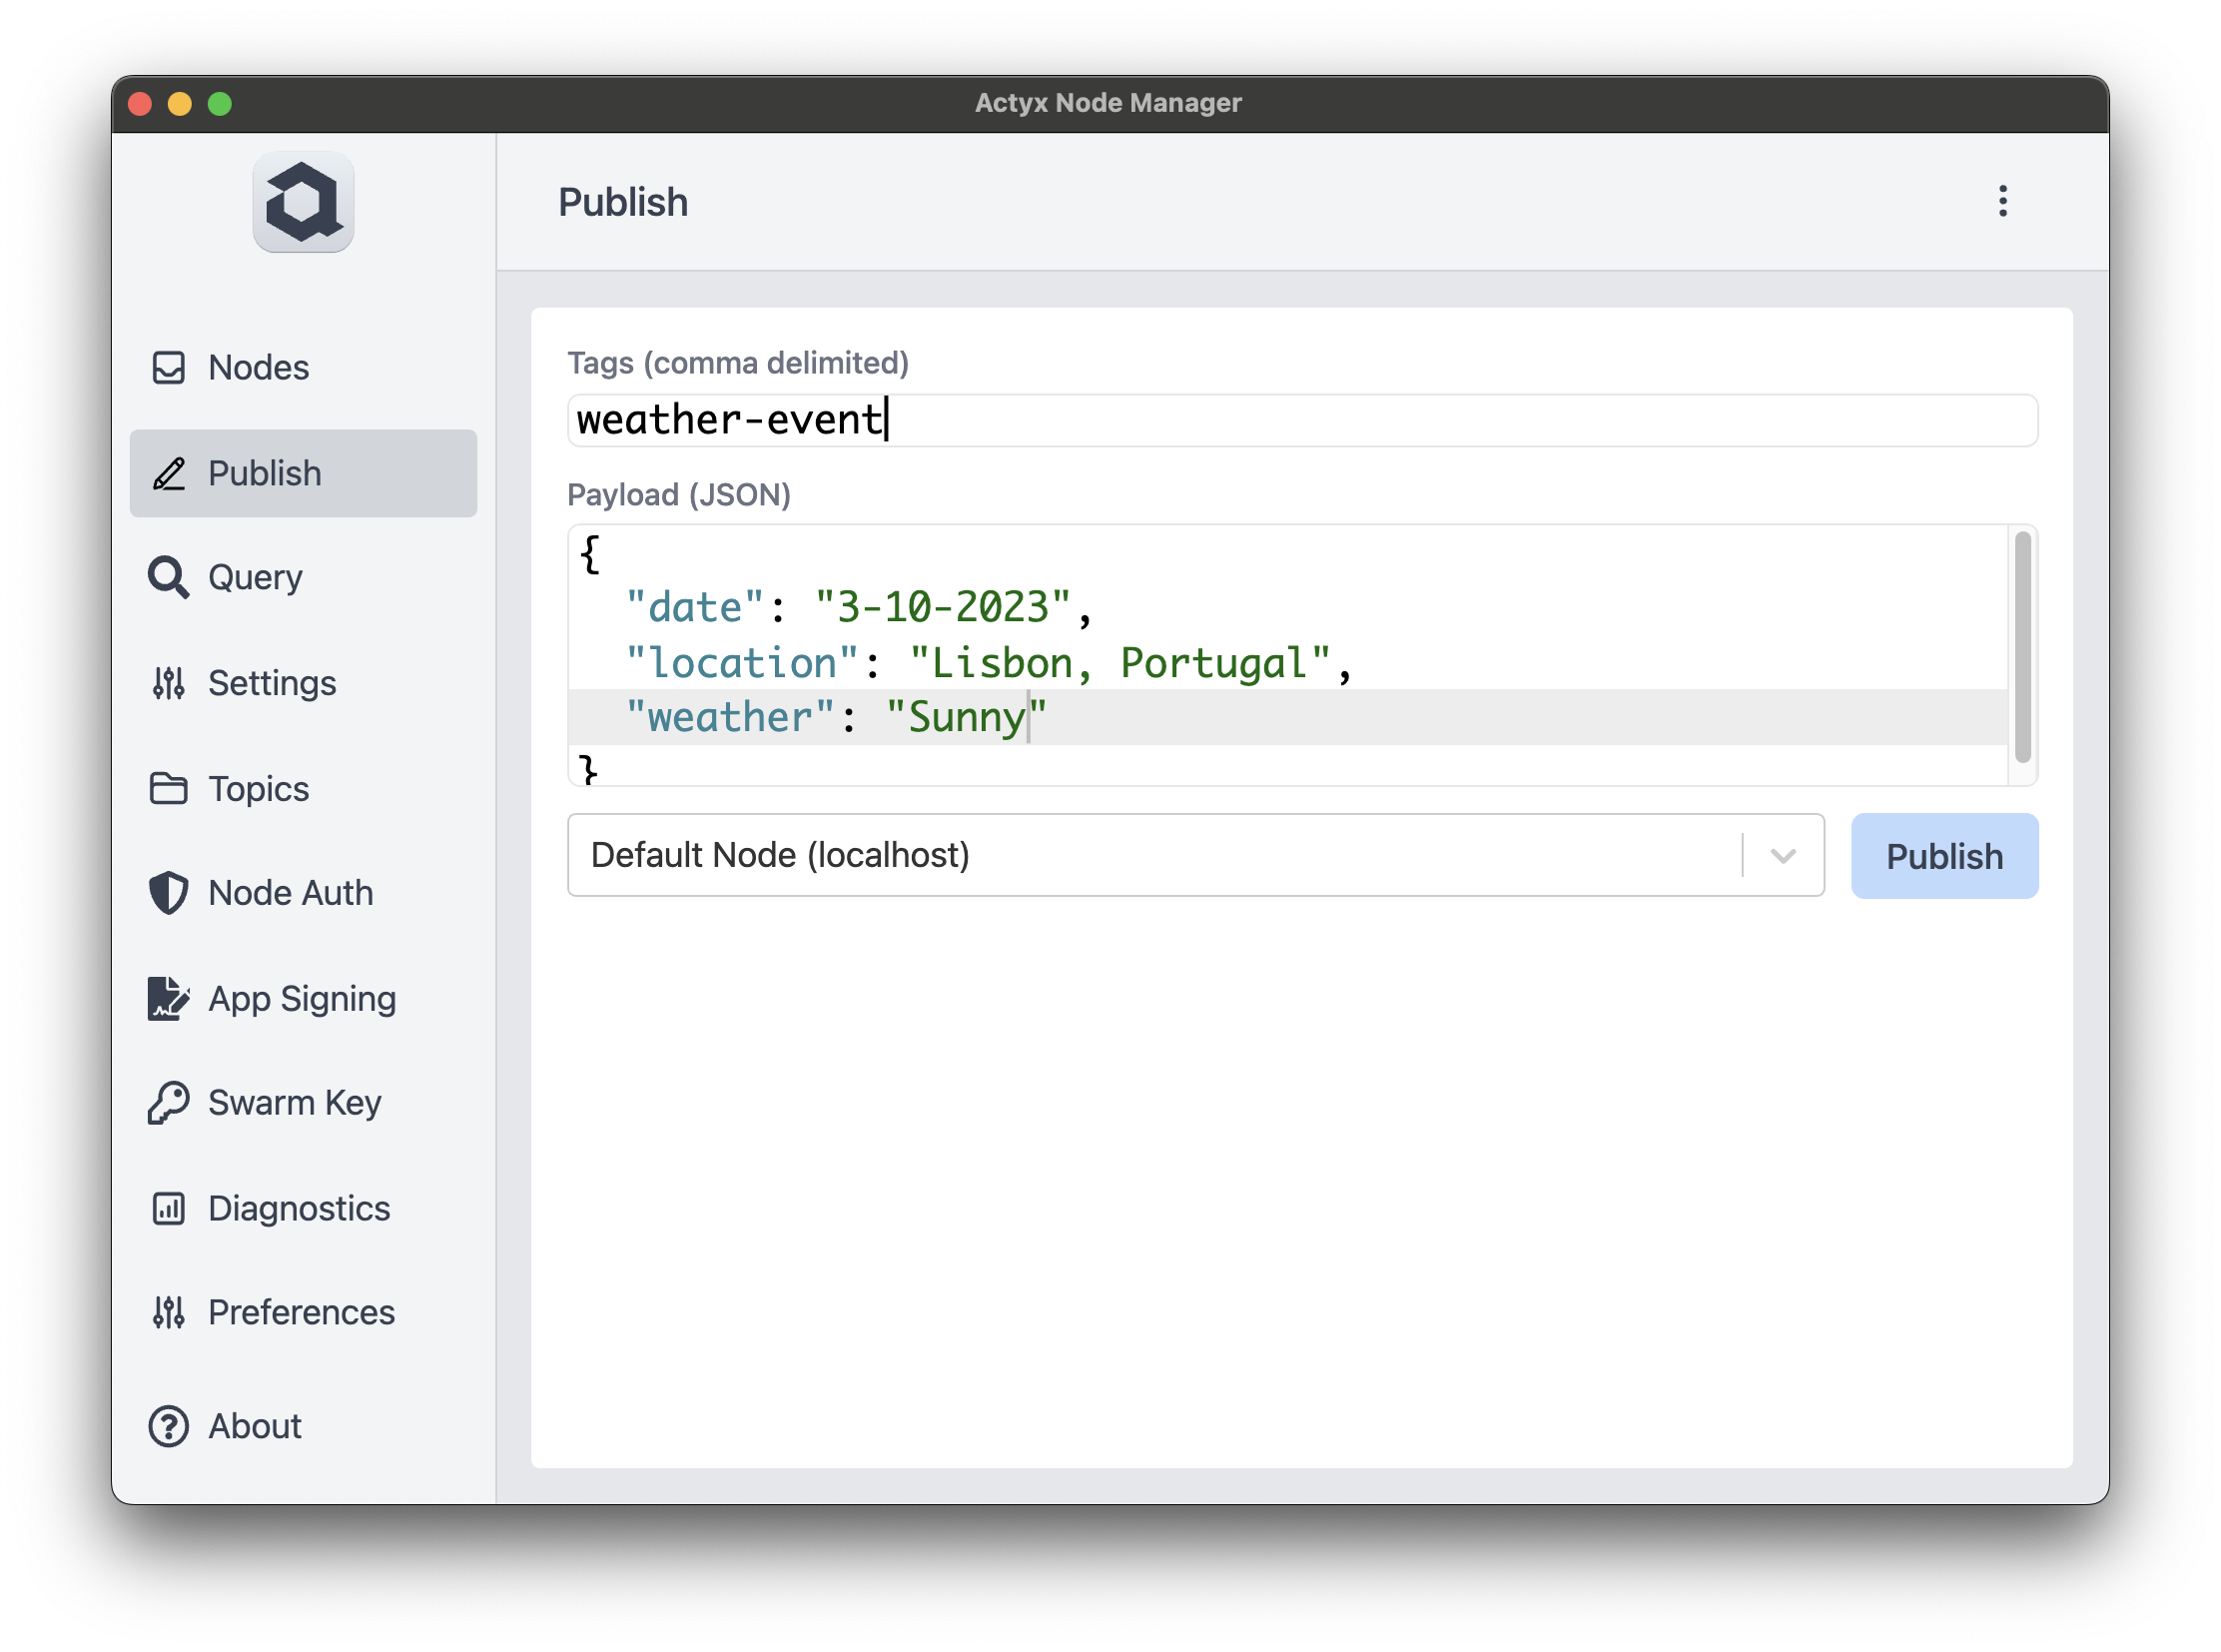
In our case, we'll publish a weather update, using the tag weather-event to mark our event.
The payload is as follows:
{
  "date": "3-10-2023",
  "location": "Lisbon, Portugal",
  "weather": "Sunny"
}
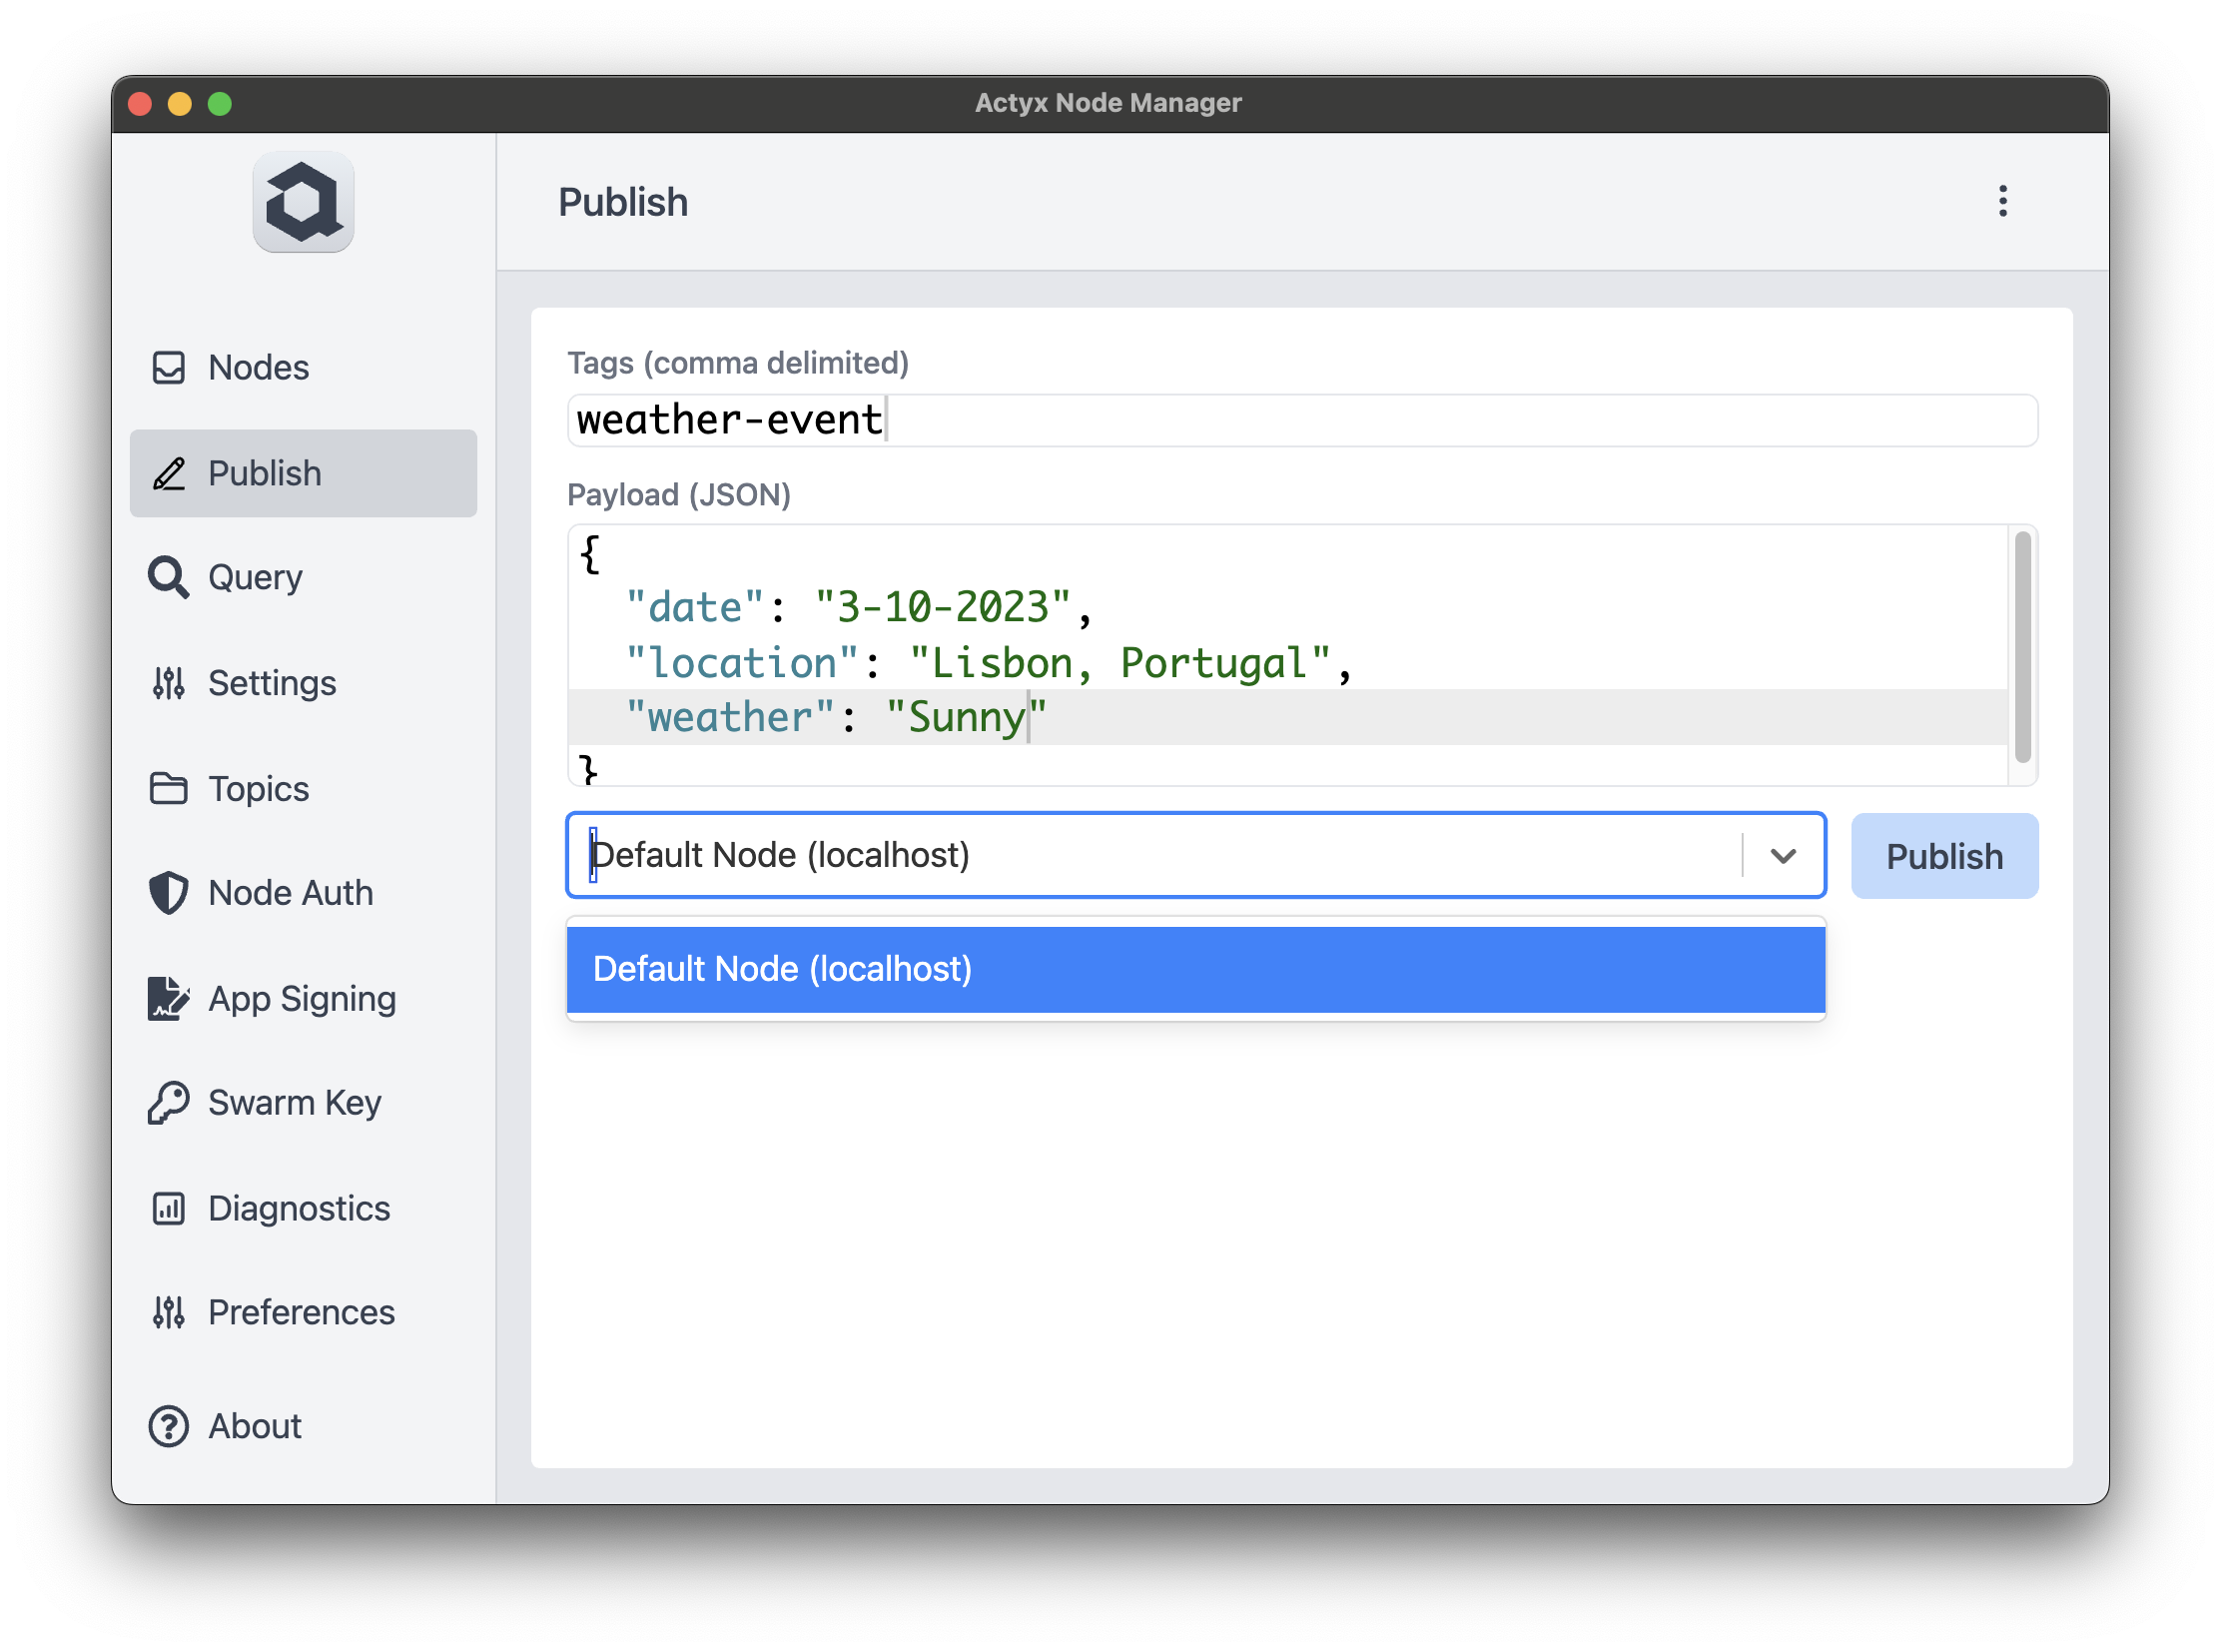
Once we've decided on what to publish, we select the node (in our case, the only one available).
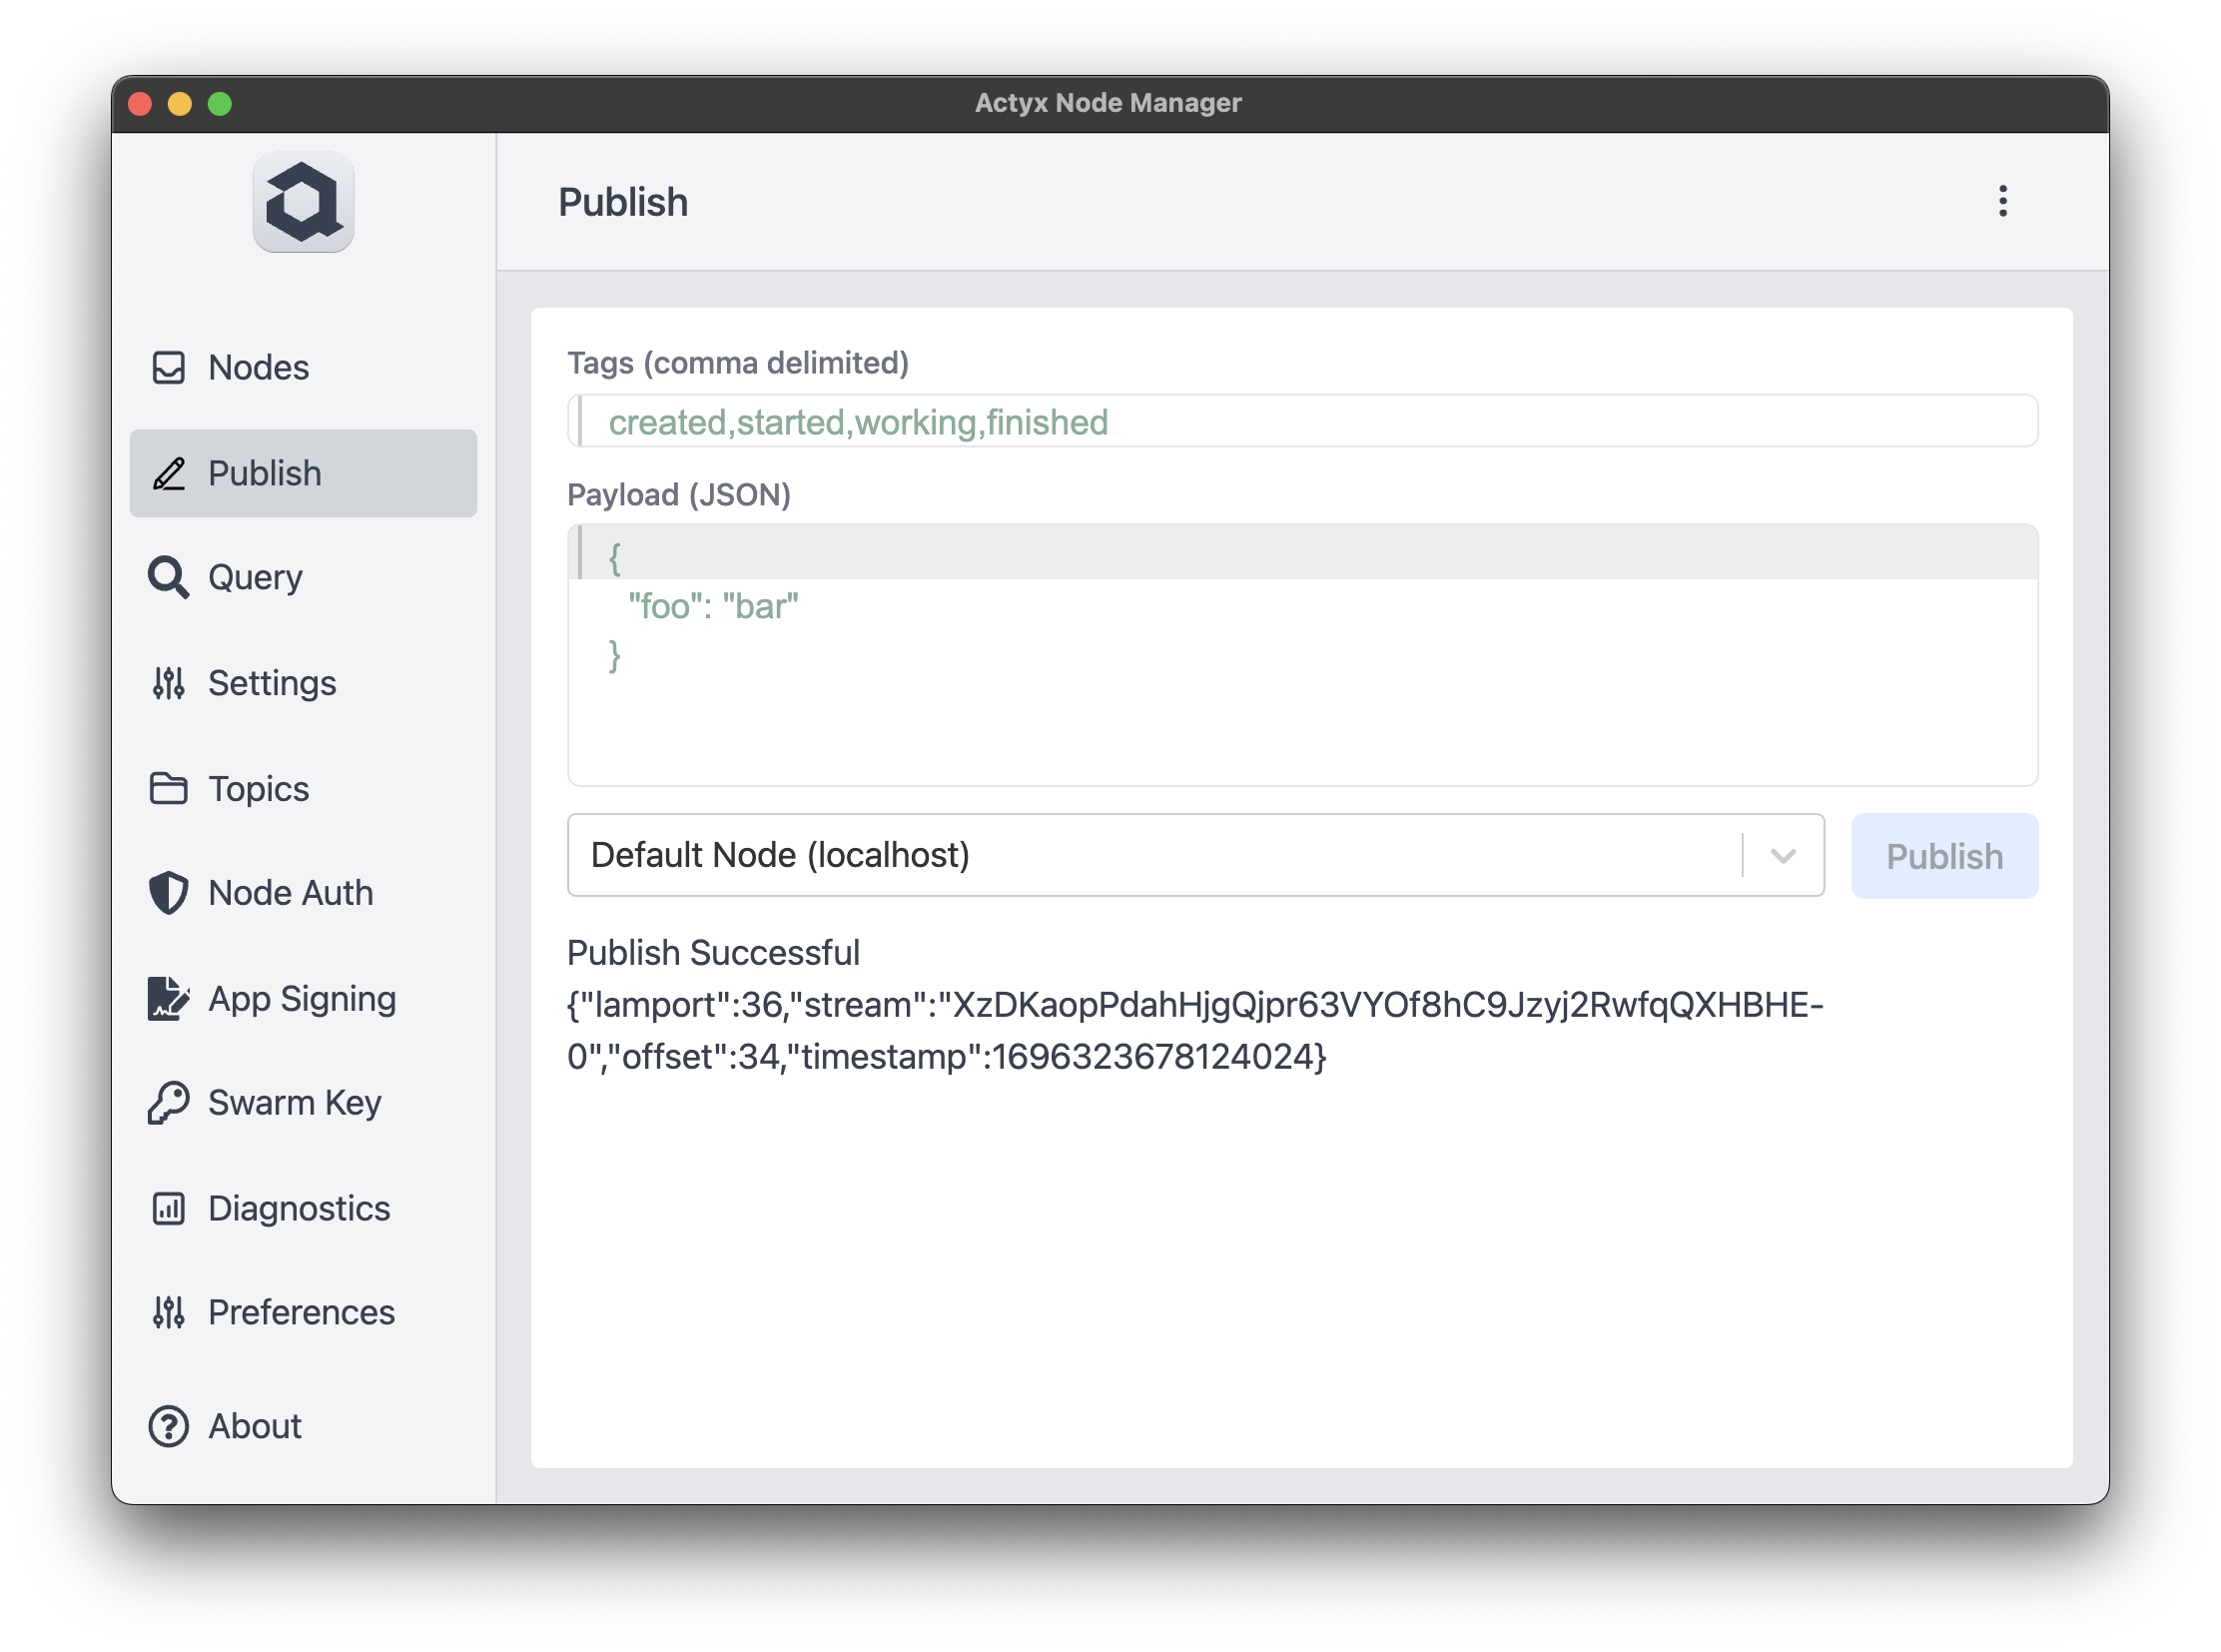
And finally, we click publish! Afterwards, we will be greeted with a message informing us whether we succeeded and some information about the published event.
Your output (lamport, stream, etc) will most likely not match the one in the example, that is to be expected
(in fact, it would be a bit weird if it fully matched the example).
Congratulations, you've published your first Actyx event!
You can move on to querying in the next tutorial.